Comic Strip Layouts Explained: 3-Panel Gag, 4-Panel Yonkoma, 6-Panel Story
Three panels make a gag, four make a yonkoma, six make a short story. This is how each layout is read, where the turn sits, what gutters are for, and how to build all three from the strip templates.
By Jam Hsiao ·
Why panel count is the joke
Each extra panel is another beat. Too few, and the payoff has nothing to land on. Too many, and the turn gets lost. The three layouts that keep showing up map onto three kinds of joke: 3-panel gag (setup / turn / payoff), 4-panel yonkoma (ki / shō / ten / ketsu), and 6-panel story (a short scene with a beginning, a middle, and a button). Two panels are free on this site when the contrast is the whole gag. Three to six frames are Pro. Photos instead of drawings are fine; see comic strip from photos.
Reading order: left-to-right versus manga right-to-left
Western strips read left to right in a row, then top to bottom. Manga yonkoma usually reads right to left, often as a column (first beat at the top, or on the right in a horizontal strip). The editor has Row (LTR) and Column (top to bottom). There is no RTL switch: build in story order, then use Move left / Move right so the first beat sits on the right. The download is one image, so the published order is whatever you arranged. Point every tail at a speaker; shapes are in the twelve bubble types.
The 3-panel gag
Three panels is the shortest complete joke that is not a two-shot. The beats have names because they always do the same jobs:
- Setup — who is here, and what is normal. A face, a room, a line that could go either way.
- Turn — something shifts. A second speaker, a new object, a reread of the first line.
- Payoff — the last panel is the laugh, or the wince. If you can cut this panel and the strip still makes sense, it is not a payoff yet.
Keep panel 1 quiet. The gag is the distance between 1 and 3. The middle panel is a hinge, not a second punchline.
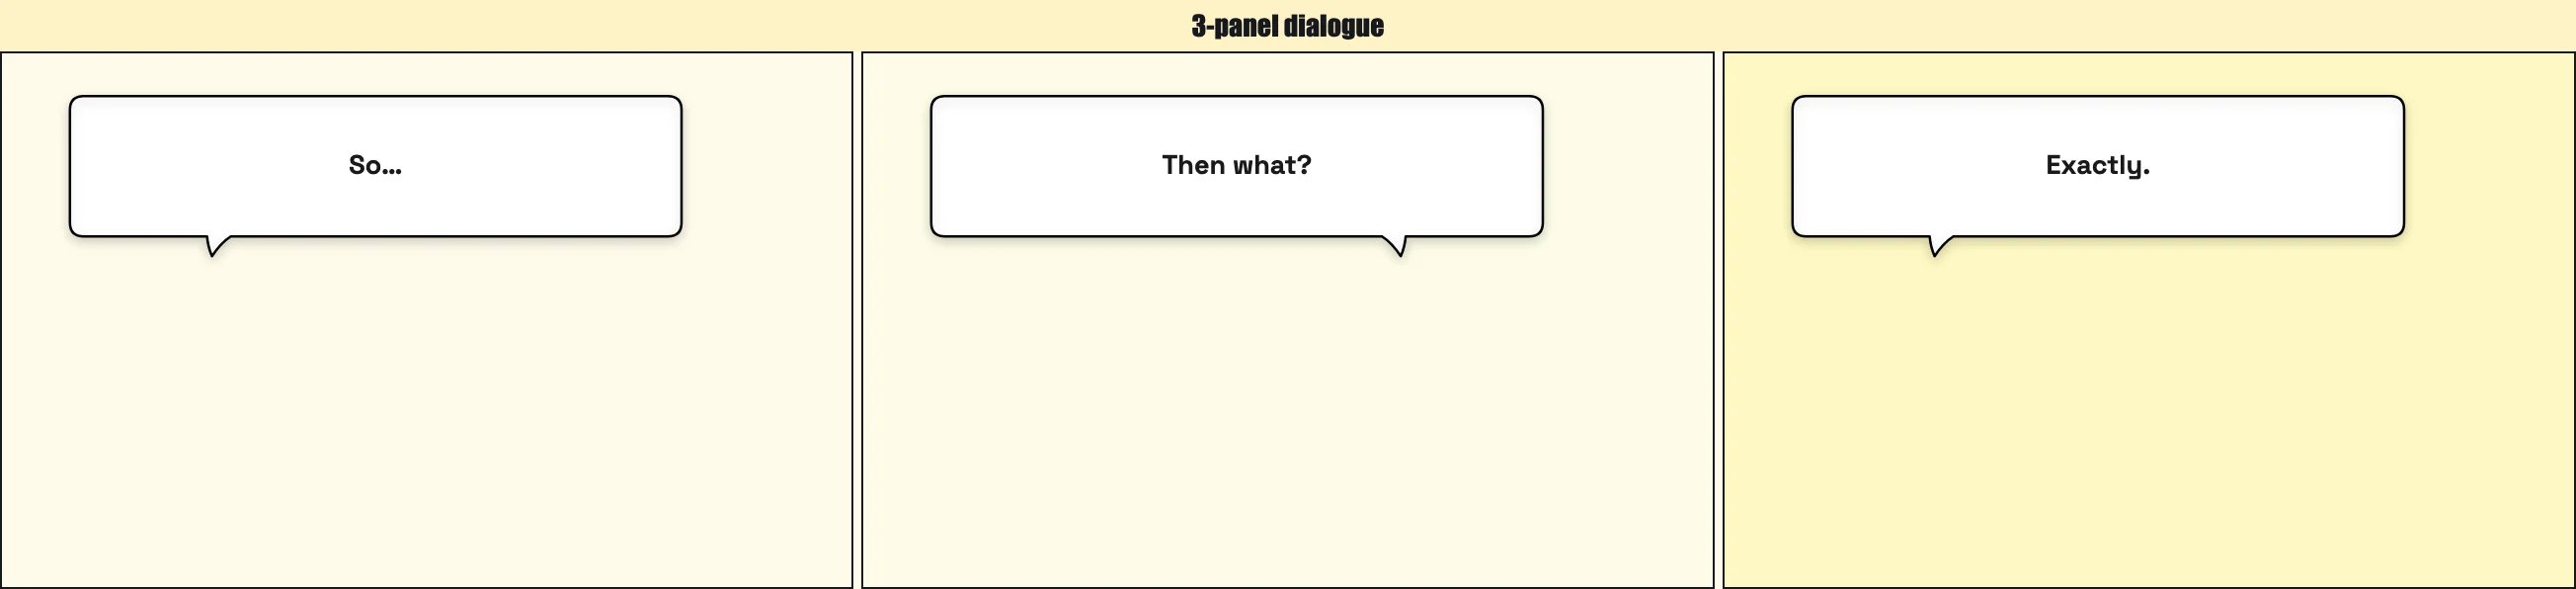
That figure is the 3-panel dialogue template: a row, title bar, gutter 8, border 2, classic bubbles. The dummy lines are already a setup, a turn, and a button. It lives under Templates → Comic strips and on the comic strip maker.
The 4-panel yonkoma
Yonkoma (四コマ) is four panels, classically stacked in a column in Japanese newspapers and manga magazines. The pacing is kishōtenketsu:
- Ki (起), introduction — the world, the cast, the status quo.
- Shō (承), development — the same situation, pushed a little. Not the twist yet. This is the beat the 3-panel gag skips.
- Ten (転), twist — the turn. A new fact, a reread, a second meaning.
- Ketsu (結), conclusion — the landing. Often quieter than a Western punchline. The joke can be the mood, not a rimshot.
The third panel is the engine. Setup / joke / joke / joke is a 3-panel with a spare frame. Spend panel 2 on development; the ten only works if the ki was allowed to sit.

The 4-panel reaction template is a row of shout bubbles — a Western reaction strip, not quiet kishōtenketsu. Switch to Column and classic/thought balloons to write ki–shō–ten–ketsu on the same four frames. For manga readers, stack it as a column (top is ki) or reverse a row so ki is on the right. Use the manga bubble generator when the balloons themselves need to look like manga.
The 6-panel story
Six panels is no longer a gag with a spare beat. It is a scene. You get a beginning, a failed attempt or a pause, and a button. A useful split:
- Establish the place and the want.
- First try, or first line of dialogue.
- Doubt. A thought bubble is honest here.
- Second try.
- Hold. “Wait for it…” is a valid panel. Silence is a valid panel.
- The end — shout, cutaway, or a small classic balloon, depending on the tone.
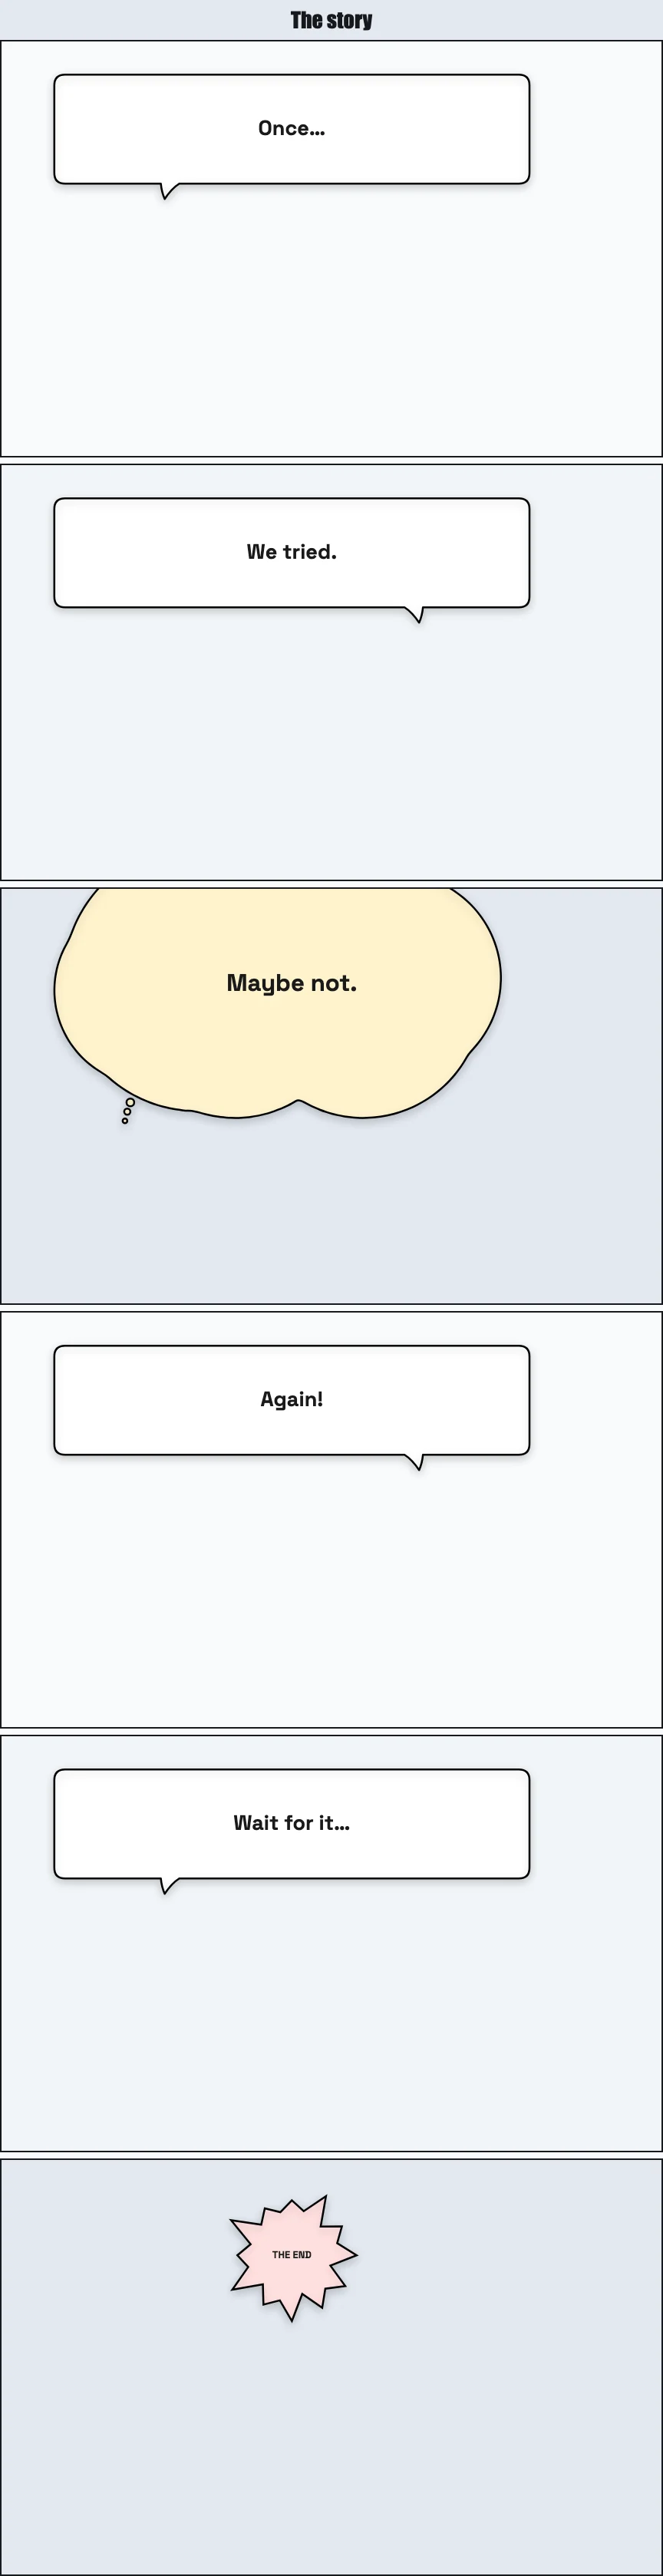
The 6-panel story template is a column with a title. Panel 3 is a thought bubble on purpose; panel 6 is a shout. Mix comic bubble styles inside one strip. This export is 864×3356 — right for a mobile story, wrong for an X timeline that shows the top. For a 16:9 feed, switch to a row, or split into two 3-panel strips. Size the file with the platform size guide.
Gutters, borders, and titles
The Gutter is the gap between panels — a blink where time passes. Tight (4–8 px) feels simultaneous; wide (16–24 px) feels like separate shots. The templates start at 8 or 12. Border is the line around each panel (usually 2 px). Corners round the frame; Frame wraps the whole strip; Title sits top or bottom. Do not match gutter colour to panel colour or the frames fuse and the reading order disappears.
Common mistakes
- Every panel is a punchline. Then none of them is. Save the turn for the panel that is supposed to turn.
- Tails that point at nobody. Drag the red tip onto a mouth. A tail into the gutter looks like a caption box that grew a spike.
- Walls of text. A strip panel is a phone tile. One short line, maybe two. If you need a paragraph, you wanted a caption box, not a balloon.
- Same bubble, six times. Mix classic, thought, and shout so the tone changes when the beat changes.
- LTR art for an RTL reader. Arrange the panels for the audience; the thumbnail strip is not the published order.
- A 6-panel column posted as an X card. The timeline shows the top. Row it, or accept that the payoff is below the fold.
- Starting in six panels because six were available. Write it in three first. Two panels are free and often enough.
Build each layout in the editor
- Open the comic strip maker. It starts in strip mode with two empty panels and Comic selected. Two panels are free.
- Or skip the blank strip and click a template: Templates, Comic strips — 3-panel dialogue, 4-panel reaction, 6-panel story. Those three open with the gutters, borders, and dummy lines already set. Three or more panels are Pro.
- Click a panel thumbnail before you add its photo or its balloon. Each panel keeps its own background and its own bubbles.
- Choose Row or Column. Adjust Gutter and Border. Add a Title if the strip needs a name on the page.
- For manga RTL, rearrange with Move left / Move right until the first beat is on the right (row) or keep the column and write top-to-bottom.
- Read it once from the first panel to the last, out loud. If you stumble, the turn is in the wrong frame. Then download one image. Pro can also zip the individual panels.
Classic is the workhorse, Thought is the aside, Shout is the button. You can put all three in one strip. That is the point of a layout: the frames hold still so the voice can change.
Frequently Asked Questions
What is a 3-panel comic strip for?
What is yonkoma, and how is it different from a 3-panel gag?
Do I read a comic strip left to right or right to left?
How many comic-strip panels are free?
Where are the strip templates?
Related articles:
Related tools: